Jira automation allows you to create powerful rules to automate repetitive tasks and streamline workflows. A good start for learning Jira Automation is understanding the first step in any automation rule – the trigger.
Jira Automation Trigger Categories
When you start creating a new Jira automation rule, you’ll see a list of “Recommended” triggers. These are either newly-introduced triggers, or the triggers that are used most often. Below the recommended options, you’ll see the triggers listed in ten categories:
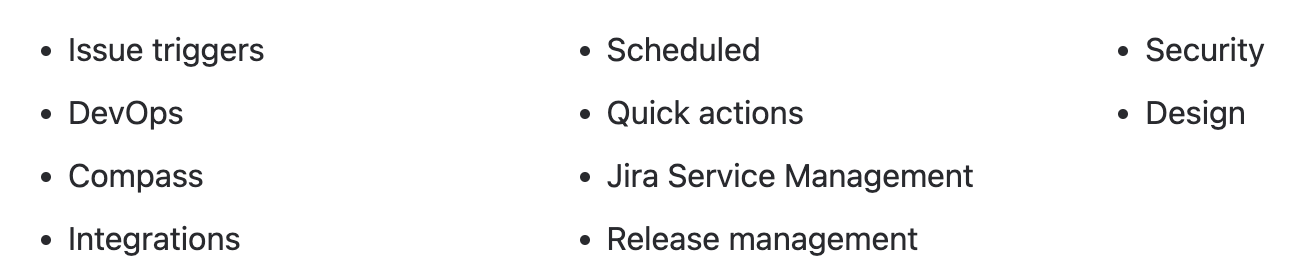
You can also click on the appropriate label at the top to jump down to a given category.
The Most Common Jira Automation Triggers
Many of the most commonly used automation triggers will have a “Popular” flag by their name. Here are three highly useful issue triggers:
The Issue Creation Jira Automation Trigger
This trigger performs an action as soon as the issue is created. It’s a convenient way to add additional information to an issue, create subtasks, automatically assign issues, etc. In the example Jira Automation rule below, a checklist spelling out the needed steps, is automatically added when an issue meeting the condition is created.

The Issue Transitioned Jira Automation Trigger
Another trigger allows you to automate an action when an issue changes its status. You can specify the From and To statuses, or leave them blank if you want the rule to run on every transition.
In the example above, a checklist was added when an issue was created. In this Jira Automation example, the trigger is changed to Issue transitioned, and the checklist content is also changed. This demonstrates how you can use the combination of a Checklist and an Issue-transitioned automation rule to specify exactly what needs to be done on an issue without complicating your Jira workflow.
The Field Value Changed Jira Automation Trigger
Another useful trigger is Field Value Changed. It’s more specific than the Issue edited trigger, and it can be set to monitor either a standard field or a Jira custom field for changes.
In this Jira Automation rule, a change to the Checklist Completed field triggers the issue to be reopened:

Advanced Jira Automation Triggers
While most automation rules will be triggered by an event, there are cases when you’ll want to use manual or scheduled triggers. You can also allow an automation rule to trigger other rules.
Manual Jira Automation Triggers
Manual triggers are great for occasionally-used, on-demand actions. You may also want to use a manual trigger to test the conditions and actions a rule will execute before enabling the rule to run on an event.
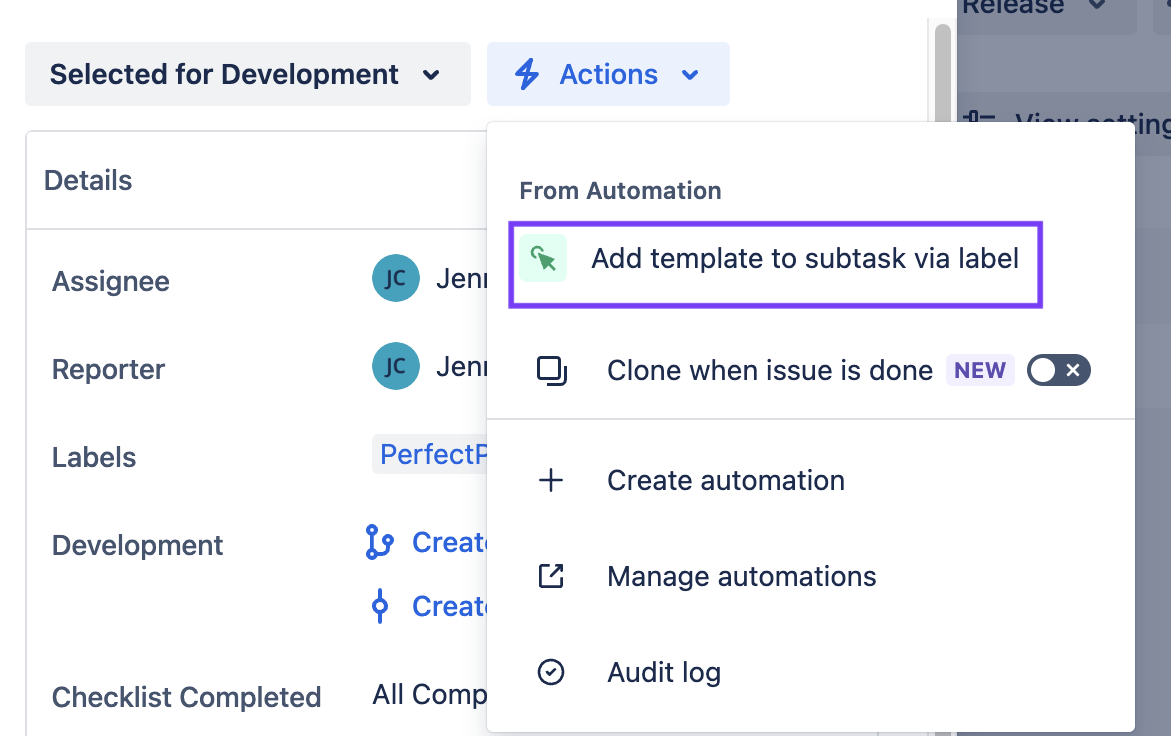
Manual triggers are run from the Actions menu to the right of the issue status.
Scheduled Jira Automation Triggers
Imagine you want to send a Slack message every Monday morning listing all unresolved issues assigned to each team member. Since you want the rule to run on a recurring basis, you would use the scheduled trigger.
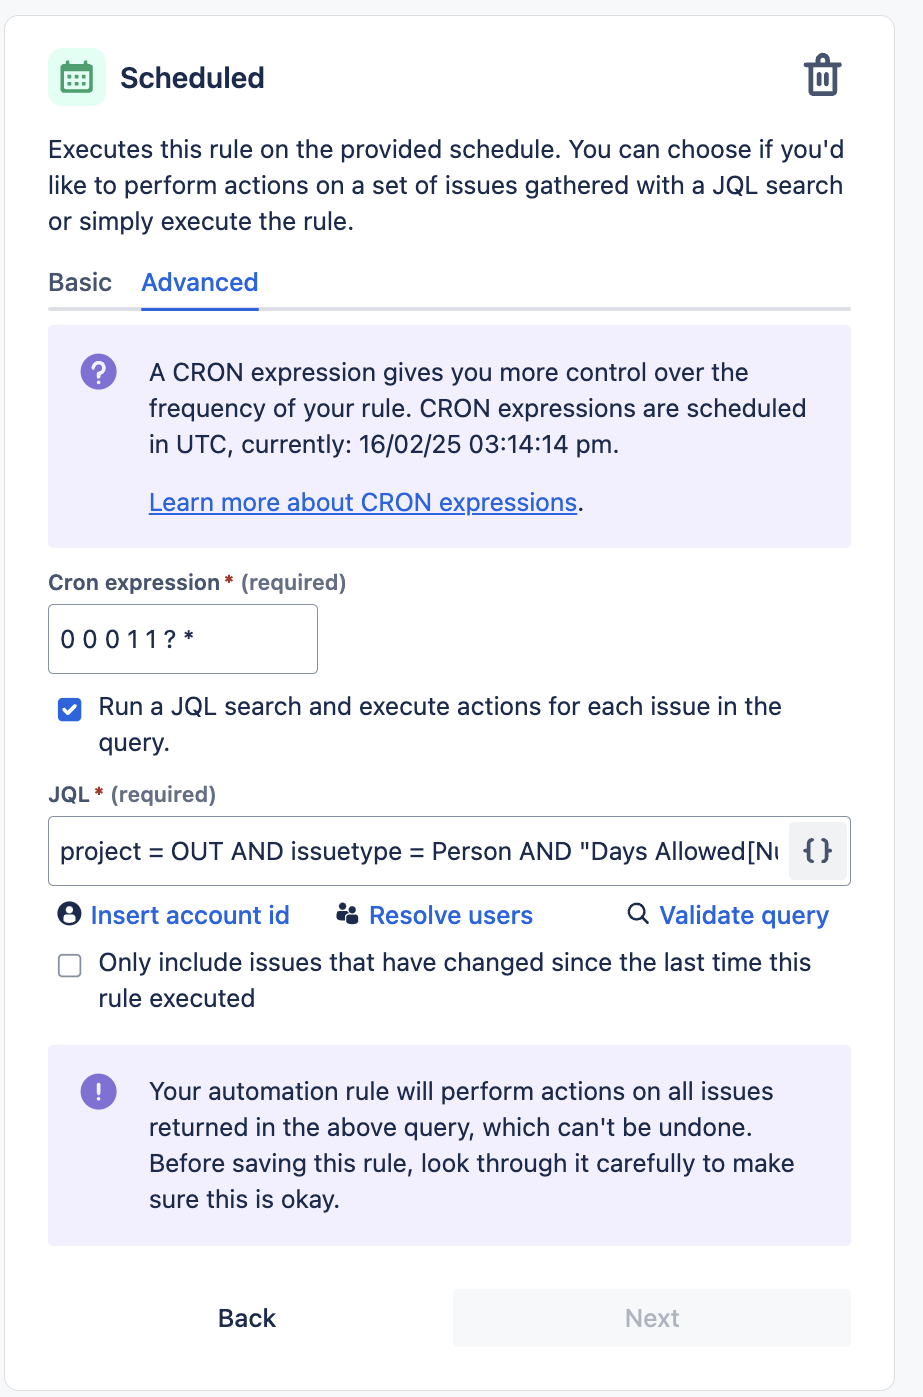
You can set the rule to run the first time and then be repeated on an interval (every seven days for the example above):

The Advanced tab allows you to create a Cron expression for more complex intervals.
Jira Automation Triggered by Another Automation Rule
A checkbox at the bottom of the Rule details tab can be enabled to allow a rule to be triggered by another rule. This allows you to chain automation rules together.

Jira Service Management Automation Triggers
The JSM category of Jira automation triggers includes:
- Approval completed which runs the rule when a requested approval is responded to (either approved or declined)
- Approval required which runs the rule whenever an issue requiring approval is created or updated.
These triggers are designed to ensure you can keep your approval processes from becoming bottlenecks. However, there are many more uses for Jira Automation in JSM projects.
The Issue commented trigger is used to update the status between WAITING FOR SUPPORT and WAITING FOR CUSTOMER, but you could also use it to send your agent a Slack message. Our team has found the Comment Custom Fields for Jira app to be very useful in allowing us to create automation rules, triggered by Issue commented, to deliver and monitor customer service.
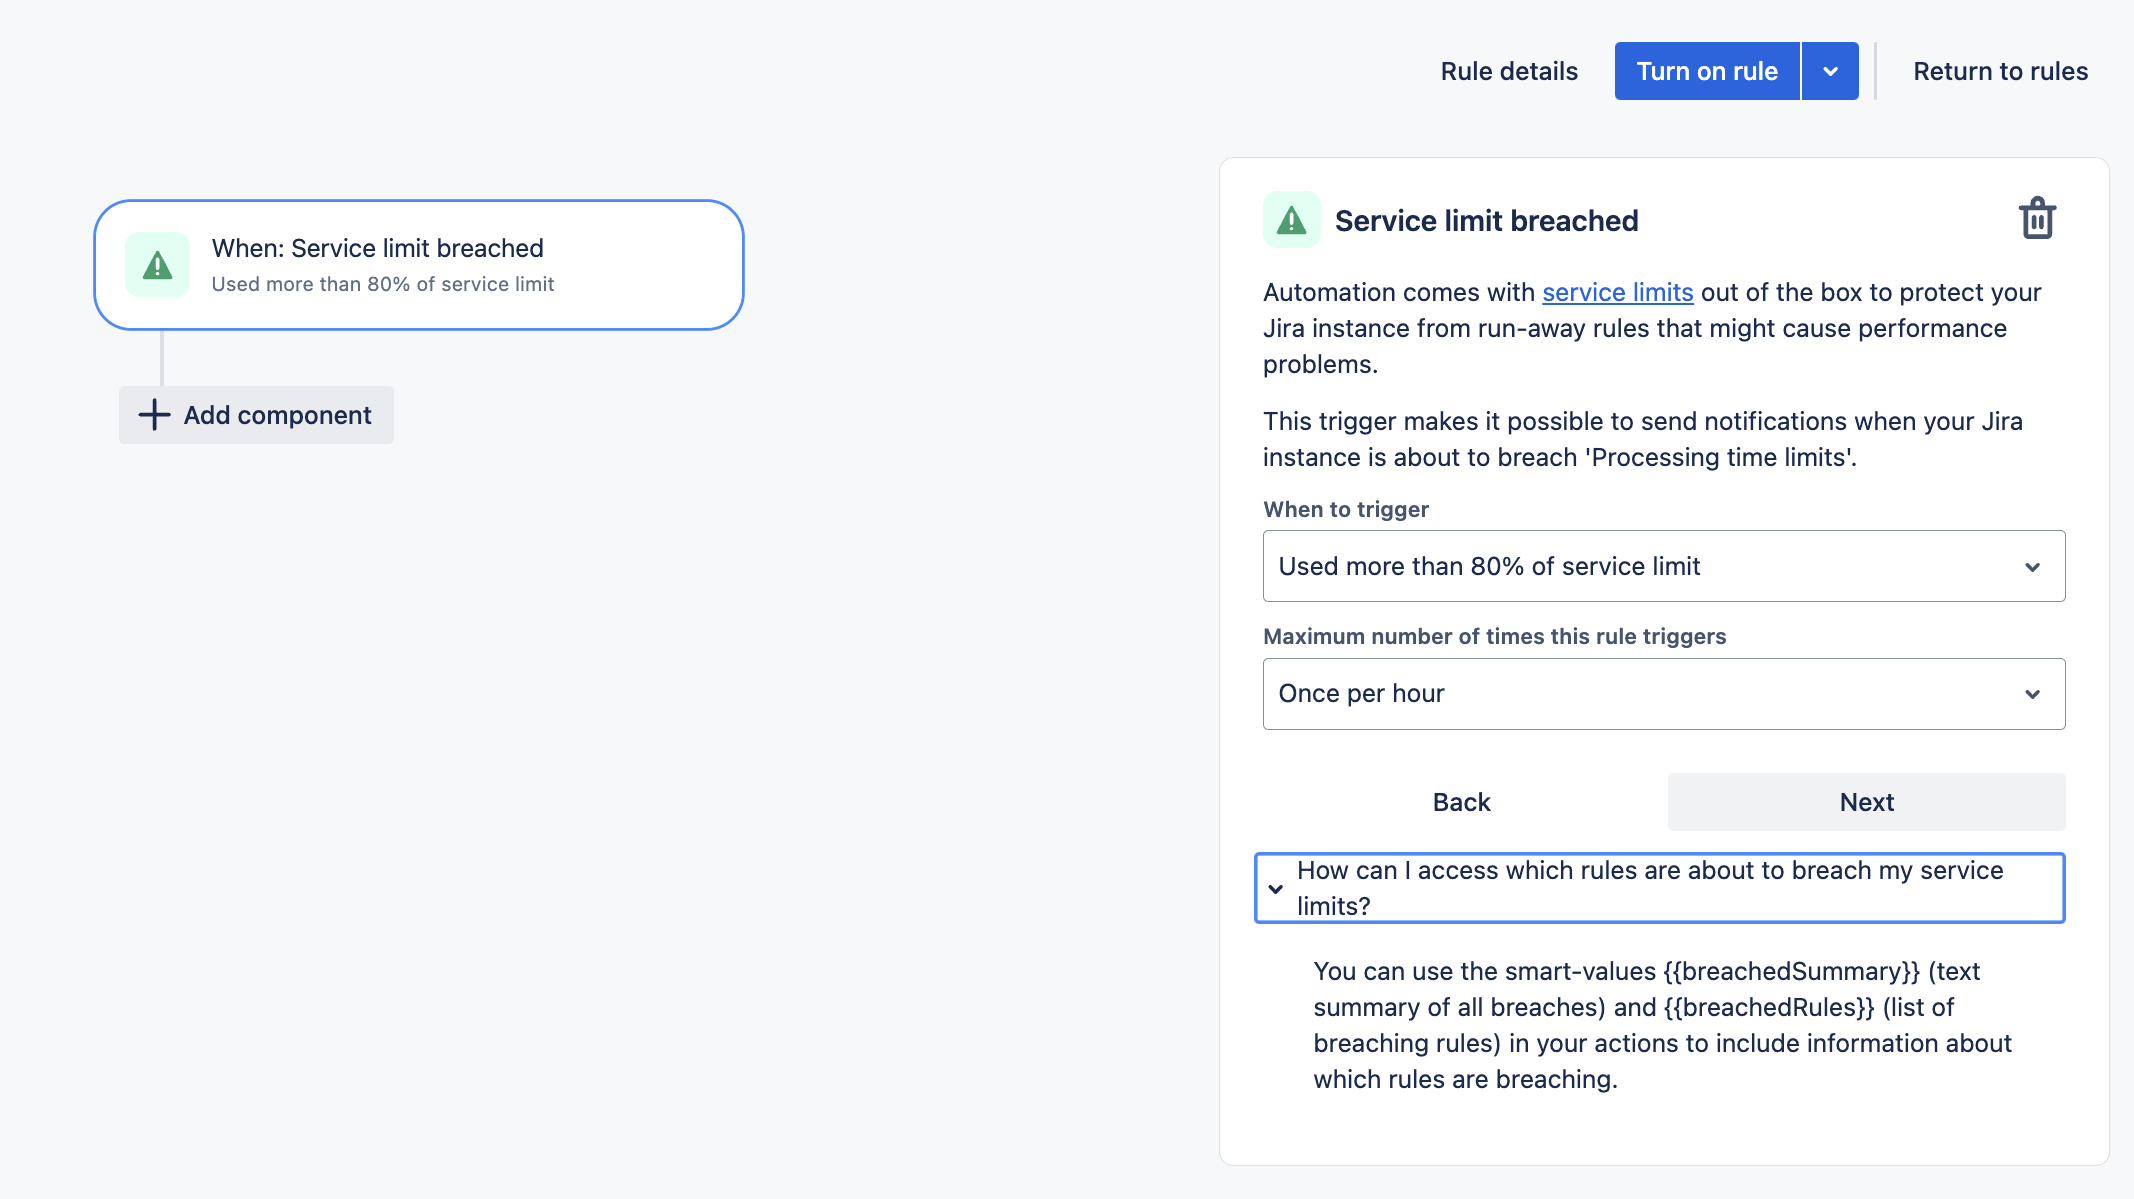
There is also a Service limit breached trigger (which for some reason is listed under the Issue trigger category, rather than the JSM category). You can use this to send alerts when a request is in danger of breaching the SLA:
Automation is one of Jira’s most powerful features, allowing you to streamline workflows, reduce time spent on repetitive tasks and standardize processes. Understanding the available Jira automation triggers will kick-start your use of Jira automation rules.


