Mastering the art of creating custom Jira workflows unlocks the power to manage any process in Jira. An earlier post discussed Jira statuses - the building blocks of a Jira workflow. This post will discuss Jira workflow transitions – the connecting tissue between those statuses.
How Do Jira Transitions Work
Jira workflow transitions are the mechanisms through which a Jira work item progresses from one status to another. Workflow transitions come in three varieties:
Global Jira Transitions
Global transitions allowwork items to be transitioned from any status to the target status. Workflows that use global transitions are called simplified workflows, and allow for maximum flexibility.
Common Jira Transitions
Common transitions connect two different Jira workflow statuses. Use common transitions when you want to enforce a specific order of operations in your Jira workflow.
Looping Jira Transitions
Although rare, Self-reflecting (looping) transitions can be used to trigger automation and/or post-functions, or to capture information on a transition screen without changing the status. Self-reflecting transitions are executed from the Actions menu, rather than from the Transitions dropdown.

Adding, Editing or Deleting Jira Transitions
Adding, editing and deleting transitions all happens in the workflow editor (Project/Space settings > Workflows, then click on the Edit workflow). Sometimes Jira will let you edit a workflow directly. At other times you will need to make a copy of the workflow, make your edits in the copy, and then replace the old workflow with the new one in your workflow scheme.
How to Add a Transition to a Jira Workflow
- To add a new transition, click the Add transition button. Select the From and To statuses, give the transition a name and click Create. Later you can add a screen, or other rules to the new transition.

- If you want to create a global transition, select Any status in the From status dropdown.

Be sure to click the blue Update workflow button to save your changes.
Jira Transitions Naming Conventions
Since transitions are the engine that propel an item through a workflow, transition names should clearly tell the user what to do (think verbs), without any ambiguity. As with status names, it’s recommended that transition names not be too specific, to ensure that the workflow can be used by multiple projects/spaces. Good transition names include:
- Approve
- Reject
- Start work
- Respond to customer
- Respond to support
- Send to QA
How to Edit a Jira Transition
Once a workflow transition has been created, clicking on it in the workflow editor will open a panel in the left nav bar which will allow you to make edits to the transition. Along with changing the name, and source and target status, you can also add properties and behaviors to a transition. More on that below.
Again, remember to update the workflow to save your changes.
How to Delete a Jira Transition
The right panel also has an option for deleting the transition.

Transition Tips for Flexible Jira Workflows
- Beware of “dead-end” statuses with no outgoing transitions. A workflow that allows completed work items to be reopened is more flexible.
- It’s also good to include backward transitions so a work item can return to a previous status when needed.

Jira Transition Screens
Jira gives you the option to add a dedicated screen to any transition. Unlike other screens, transitions screens are not visible when you create or view the Jira work item, nor are they listed in your Jira screen scheme.
Transition screens are to used to collect data related to a specific point in your Jira workflow – data that was likely not available when the work item was first created. Data collected on a transition screen may not be shown on the main work item screen, but is available to queries and search results.
The most common use of transition screens is to set a Resolution when a work item is closed.
Transition screens are also useful in any workflow that includes an option to approve or reject what has been done on a work item. If you’re on the Premium or Enterprise plan, then you can use Jira’s built-in Approval function. But if you’re on the standard plan, you can still build approvals – complete with comments as to why the item was approved or rejected – into your workflow by setting a condition (see below) for who can execute the transition, and adding a transition screen that prompts the designated approver to explain why they approved or rejected the work item.
Creating a Jira Transition Screen
To add a transition screen, you must first create the screen, then use a rule to add it to your workflow:
- Navigate to Jira settings > Work items > Screens and click Add screen.
- Name and description and save the screen.
- Open the new screen and add the desired fields.
- Return to the workflow editor and click on the transition.
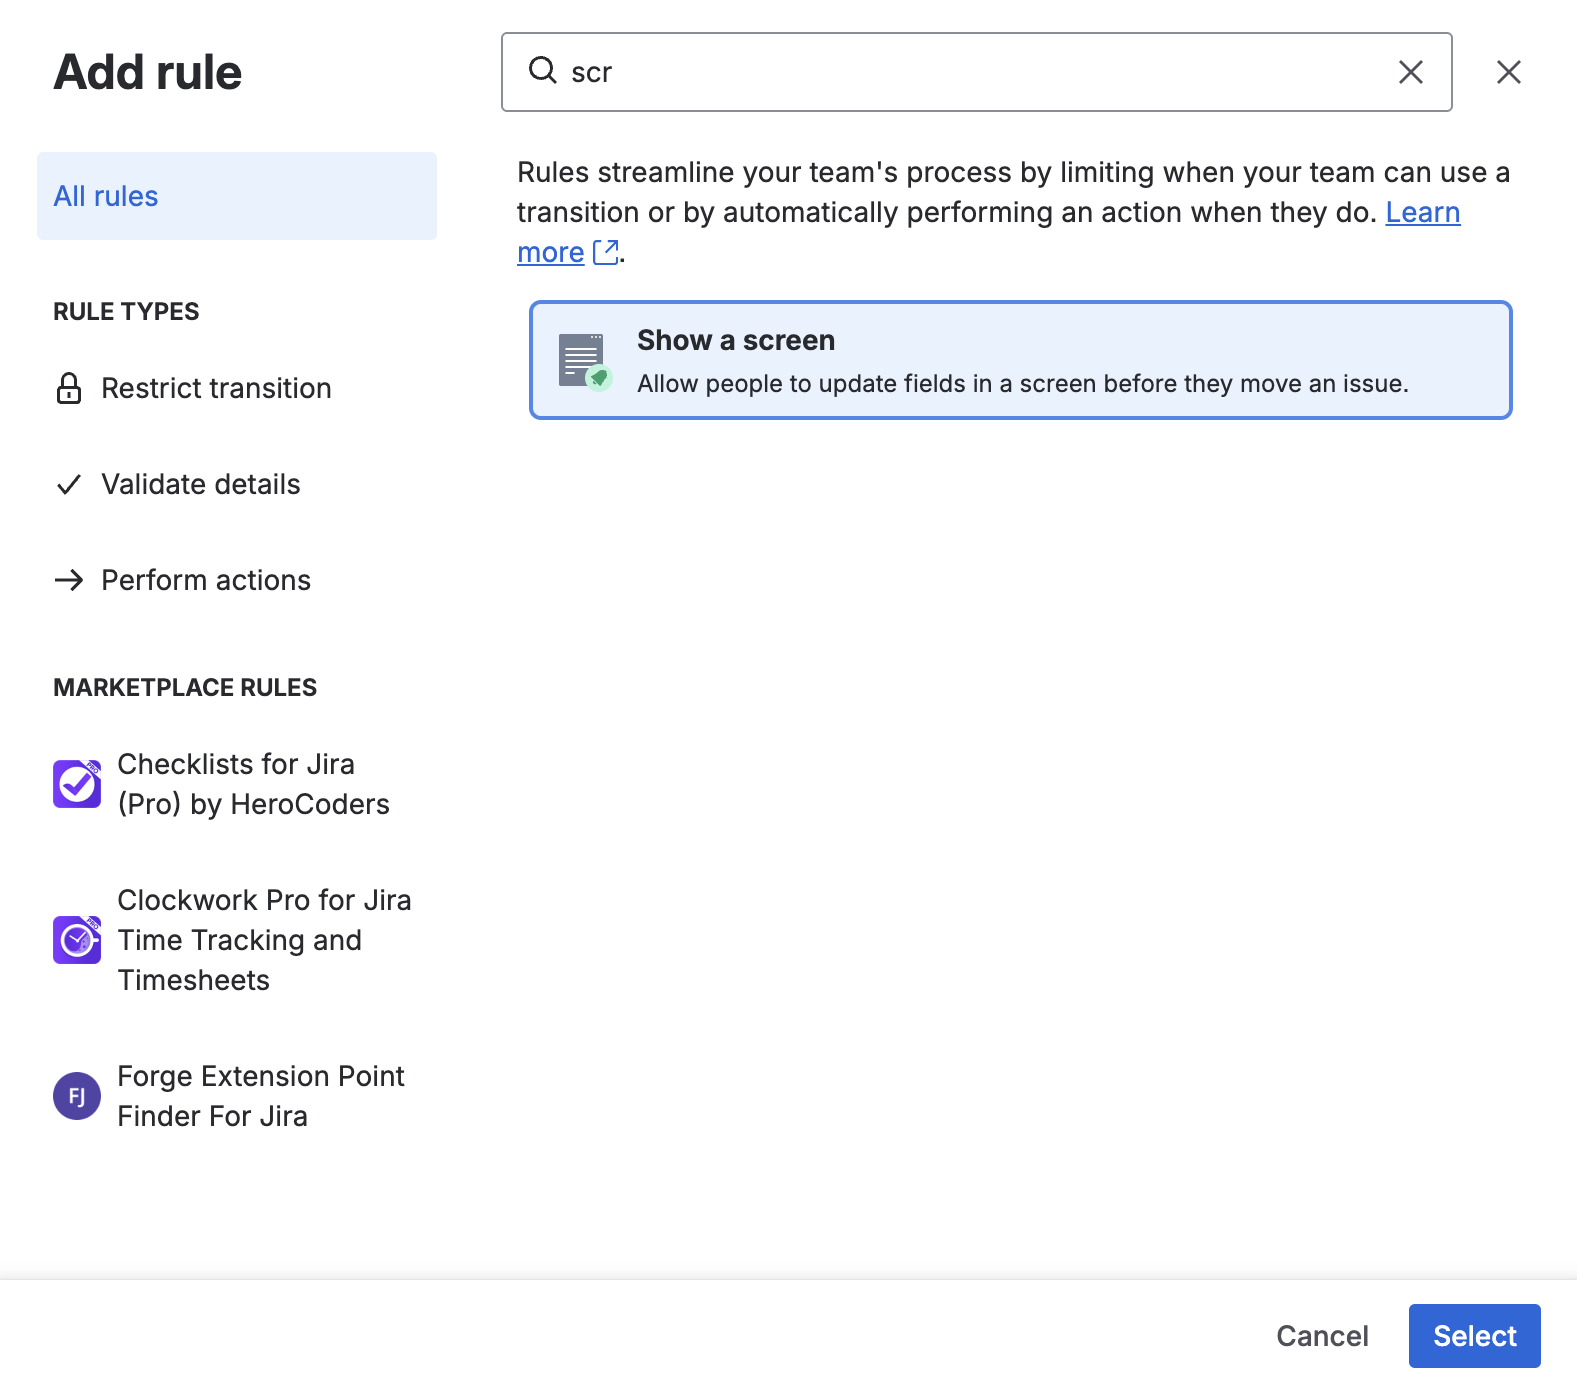
- Click on the + next to Rules.
- Search for Show a screen and click the Select button.
- Use the dropdown to select the appropriate screen and click Add.
Jira Transition Properties and Behaviors
Adding a screen is just one of many things you can empower your transitions to do. The options on the right side bar allow you to add restrictions, automations and extra functionality from Marketplace apps.

Jira Transition Rules
When you click on + Rules, you’ll see four different categories of rules that can be added to your Jira workflow transitions:
- Restrict transition (formerly known as Conditions)
- Validate details (formerly known as Validators)
- Perform actions (formerly known as Post-functions)
- Marketplace rules (installed from Marketplace apps and functioning like one of the above-mentioned rule types)
Restrict Transition Rules (Jira Workflow Conditions)
Restrict transition rules allow you to control by whom, and under what circumstances, a work item can be transitioned. If the condition set out in the rule is not met, then the user will not be shown the transition option. In some cases, this will mean that a given user will not have the option to transition the work item at all. Example restrictions include:
- User– Only the reporter, assignee, member of a given group, etc. can transition the work item
- Previous status – the work item can only be transitioned if it has passed through a specific status
- Field value – The item can only be transitioned if a designated field has a specific value
- Subtask status – Only allow the transition if all of the work item’s subtasks have are in a specific status
- Approval (Jira Premium & Enterprise) – The work item can only be transitioned if it’s been approved
Validate Details (Jira Workflow Validators)
Validation rules check for a certain condition before allowing the transition. If the validator is not met, then the transition will fail. Validation rules allow you to enforce your business processes in Jira. Example workflow validation rules include:
- Parent work item – Validate that the parent work item is in a specific status
- Field value – Validate that a field has a certain value
- Built-in Marketplace app validators (All checklist items complete, Clockwork time logged)
Perform Actions (Jira Workflow Post Functions)
Perform action rules are carried out after the successful execution of the transition. Action rules are a great way to keep momentum by automatically completing the next step(s). Actions can include:
- Set assignee – Assign the work item (Current User, Lead Developer, Reporter)
- Set field value – Update a field value, or copy a value from one field to another
- Built-in Marketplace app post functions (Complete all Checklist items)
Jira Transition Triggers
Triggers allow you to automatically transition a Jira work items in response to an event in a development tool. Triggers can be configured to respond to events – such as pull requests, branches, commits and reviews – in various environments. Using triggers empowers you to keep your Jira software projects in sync with the development environment.
Jira Transition Properties
Workflow properties allow you to add an extra level of control over what can be done, and by whom, at specific points in your Jira workflow. Workflow properties include:
- jira.issue.editable – This property can be set to true or false to allow the work item to be editable when it’s in a particular status
- jira.permission – Permission properties can be used to restrict (beyond what is controlled by the permission scheme) which users can execute which actions. See the Atlassian documentation for examples.
- jira.field.resolution – The resolution property can be set to include or exclude, allowing you to control which Resolutions are available on a given transition.
Jira Events
Jira uses behind the scenes Events to trigger other actions (such as Jira notifications). Most events are created by the system (Jira), but you can also create your own. Most of the time, it’s fine to leave the event as the default Generic Event.
Using Transitions with Jira Automation
If Jira workflow rules, triggers, properties and events don’t allow you to do what you want to do, try using Jira automation. Automation rules consist of:
- A trigger which tells the rule when to run
- Conditions (optional) which limit which issues will be impacted by the rule
- The actions that the rule will take
Workflow transitions can be used as both triggers (When the work item transitions from STATUS A to STATUS B); and actions (When the Checklist Completed field changes, and the value is All Completed, transition the work item to STATUS Q…).
A well-designed workflow that makes use of workflow transition options and integrates with Jira automation can greatly improve your teams' efficiency. Time-saving however, is not the only benefit. Workflow tools allow you to standardize processes across multiple teams and projects. They empower you to build compliance and best practices directly into Jira, supporting your teams in doing their best work.


